It refers to the number of files, the number of files for each CF.
The default number of levels is controlled by the num_levels parameter, which is 7 by default. In numerical order, it is 6. On some monitoring panels, it is directly called the bottommost level.
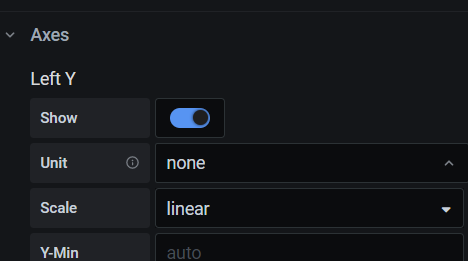
Try setting the monitoring unit value to none and see if the data volume is sufficient.
If there is a large amount of deleted data, the number of files at the bottommost level may decrease during compaction.
Thank you.
3. Try setting the monitoring unit value to none and see if the data volume is sufficient.
– When I tested, there was data in level 0, but strangely, it seemed to skip levels 1, 2, 3, 4, and 5, and the number of files in level 6 increased directly.
4. If there is a large amount of data deletion, the number of files at the lowest level may decrease during compaction.
– Are you saying that if there is no data deletion, the number of files in level 6 will keep increasing? Also, I would like to ask if there is any correlation between the number of these files and the final SST files on the disk?
It seems there is a feature where during large-scale data insertion, the process does not go through flush/compact but directly inserts SST files into the lowest level.
If the data in the lowest level files is not deleted, it will keep increasing. The number of files corresponds to the SST files on the disk.
It seems that there is a feature where during large batch inserts, the process does not go through flush/compact, but directly inserts the SST files into the bottom layer.
-----Could you please let me know if this is mentioned in the official documentation? I would like to learn more about it.
LevelDB has this feature, and RocksDB is built on the basis of LevelDB, so it should also have this feature. You can search for the function PickLevelForMemTableOutput in the document below: https://zhuanlan.zhihu.com/p/51573929
I also encountered this problem when using Lightning to import data in bulk. Did you later try to prevent it from flushing directly to the sixth level?